In the World of Software Development, Version Control is Non-Negotiable.
When I first started as a software developer, I often found myself asking:
What version control system should I use, and why?
After doing some research, I found the answers I needed, and I’m excited to share them with you!
Popular Version Control Systems:
There are several options out there, including Git, Subversion (SVN), Mercurial, and Perforce. Each has its unique strengths and features.
But if I had to pick one, it would be…
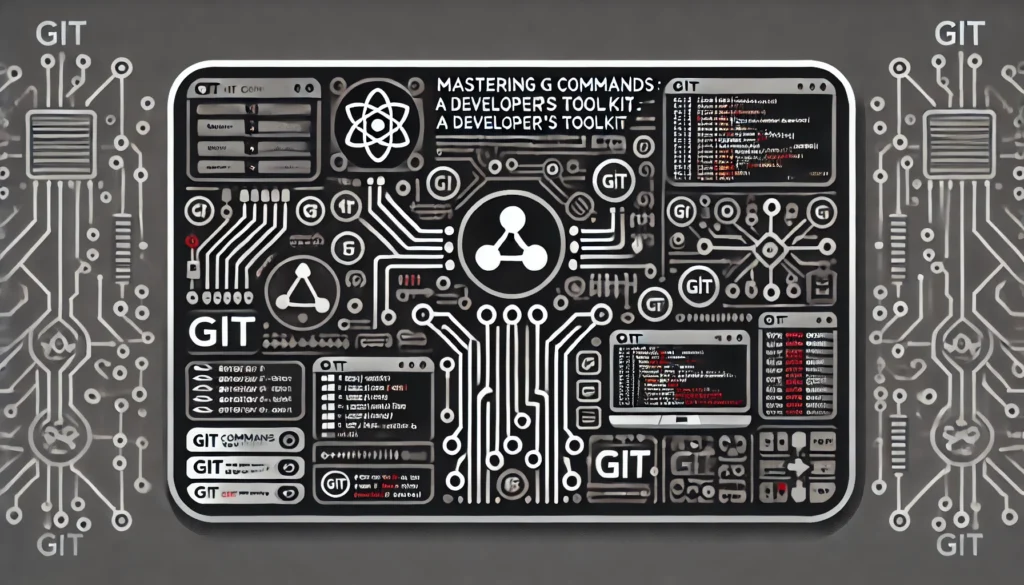
Git—The Best of Them All!
You might wonder:
Why is Git the go-to choice for developers?
Let me tell you why:
- Distributed Nature: Unlike others, Git allows every developer to have a full copy of the repository. This means you can work locally without depending on a central server.
2. Speed: It’s incredibly fast when it comes to branching, merging, and working offline, allowing you to manage complex projects with ease.
3. Community Support: With a massive community and integration with platforms like GitHub and GitLab, Git is perfect for open-source projects and collaborative environments.
Here’s a Quick Guide to the Most Commonly Used Git Commands:
Git init: Creates a new repository, allowing you to version-control your project from scratch.
Example: Starting a new project? Just run git init to get version control up and running.
Git clone: Copies a remote repository to your local machine, making it easy to contribute to shared projects.
Example: Need to work on a colleague’s code? Use git clone <repo-url> to get started.
Git add: Moves changes from your working directory to the staging area, prepping them for a commit.
Example: Modified a file? git add <file-name> to stage it for the next commit.
Git commit: Saves a snapshot of your staged changes with a commit message, making it easy to track progress.
Example: Finished a feature? Use git commit -m "message" to document the changes.
Git status: Displays the status of your working directory and staging area.
Example: Unsure of what’s changed? Run git status for an overview.
Git branch: Creates, lists, or deletes branches, helping you manage different features or fixes separately.
Example: Want to experiment with a new feature? git branch new-feature.
Git merge: Combines changes from one branch into another, allowing you to integrate new features or fixes.
Example: Merge your completed feature into main with git merge new-feature.
Git pull: Fetches and integrates changes from a remote repository into your current branch.
Example: Need the latest updates from the team? git pull origin main.
Git log: Displays a history of commits, making it easy to track changes over time.
Example: See the project’s progress with git log.
Git config: Configures Git with your username and email for commits.
Example: git config --global user.name "Your Name" to set up your identity.
Git checkout / Git switch: Moves between branches, helping you keep different features and fixes organized.
Example: git switch new-feature to start working on a different branch.
Git tag: Tags specific commits, making it easier to identify key releases or milestones.
Example: Ready for a release? Use git tag v1.0.
Mastering Git will not only make you a more efficient developer but will also ensure smoother collaboration with your team.